Back to articles
PROCEDURES
Why Ten Thousand? - The Descent
Part 2 of 2. Before we enter a critical phase of flight like the approach, Ten Thousand feet may be our last chance to make sure both aircraft and pilot are prepared.

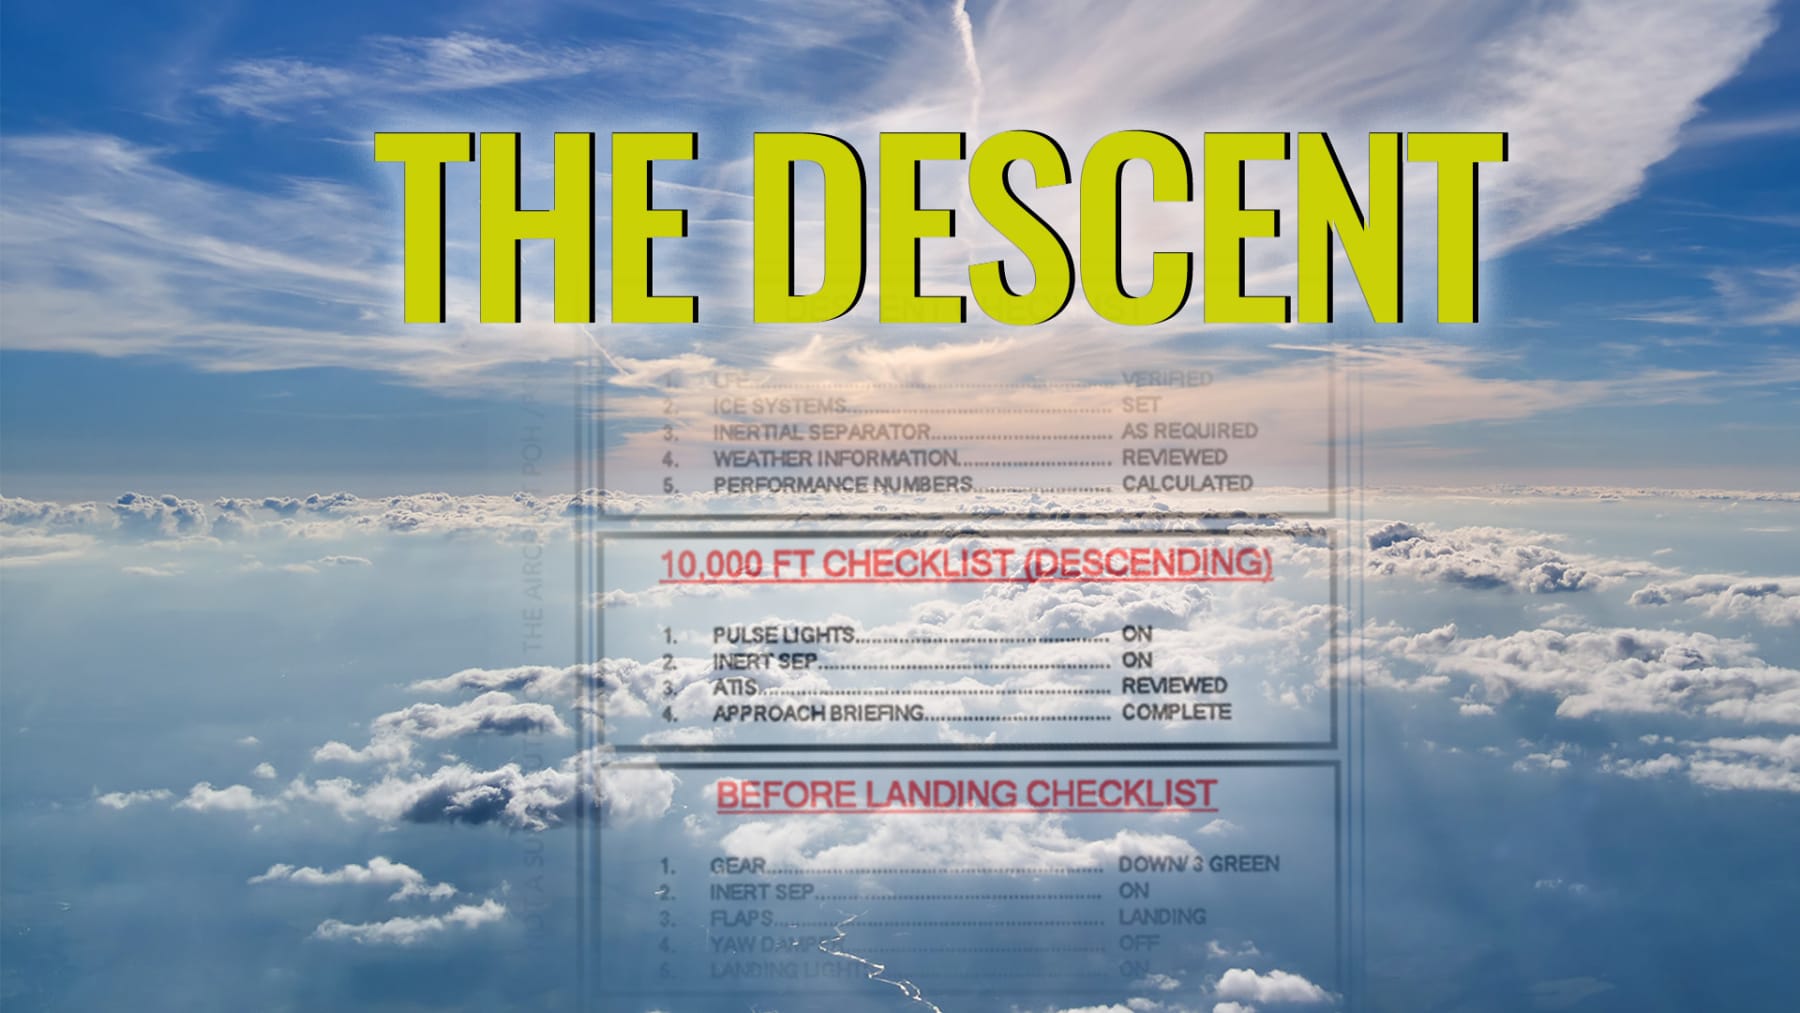
In the last article we looked at the items on the Ten Thousand (Climbing) checklist, many of which involved verifying an expected state of a given aircraft system. We checked to make sure the cabin was pressurizing as expected, that our fuel burn was appropriate for the circumstances and that our aircraft was prepared for high altitude flight. While the TEN THOUSAND (CLIMBING) checklist focuses primarily on the aircraft and it's systems, the TEN THOUSAND (DESCENDING) checklist instead focuses on the preparedness of the pilot. Let's take a look at at this brief checklist section.

Having these items complete by 10,000 ft AGL will make your approaches easier.
Aside from the first item, this section is designed to ensure that the remaining items will be completed upon reaching ten thousand feet. In this way, the TEN THOUSAND (DESCENDING) is not exclusively a set of procedures to be executed, but is also designed to verify the state of pilot preparedness with a target (or deadline) of completing those preparations by 10,000 ft AGL.
Landing Lights - ON
Why we do it at 10K
- The FAA recommends having the landing lights on at all times below 10,000 ft AGL. During the daytime, it's best to use the TBM's pulse light system as it makes the aircraft easier to identify. At night, use the normal (non-flashing) landing lights.
Inertial Separator - ON
Why we do it at 10K
- To prepare the aircraft for landing, we must have the separator deployed to prevent any debris (FOD) from being ingested into our engine.
- We must reduce our speed to 200KTS to deploy the separator.
- Under most circumstances there is no loss in performance from having the separator deployed below 10,000.
There is no requirement to have the separator engaged by 10,000, but by making this a personal requirement you can avoid the most common error associated with high performance GA aircraft, which is carrying too much speed into the approach environment. The TBM can get very fast in the descent if the Torque % is not monitored carefully, causing us to 'get behind' the aircraft and registering an exceedance or two along the way. By setting a target of 10,000 for completing separator deployment, it encourages us to begin thinking about and managing our power earlier in the descent.

The TBM Inertial Separator
Once deployed, you can certainly accelerate back to a higher speed if it's necessary, but it's worth considering using 200 KTS as a max speed below 10,000 ft AGL. Here's why.
- All controlled airspace below 10,000ft AGL has a speed limit of 200 KTS.
- The aircraft must decelerate below 178 KTS to deploy flaps or gear.
- The TBM can be difficult to slow down without aggressive throttle reduction.
- Choosing to maintain a fixed speed in the descent is challenging. Learning how to control airspeed with power and rate of descent will make you a superior pilot.
Some pilots may lament the fact that they must slow to 200 KTS for the separator. I see this limitation as an opportunity to remind myself that I'm entering a different, more complex phase of flight which requires a higher level of concentration than the phase I am leaving.
ATIS - REVIEWED
Approach Briefing - COMPLETE
Why we do it at 10K
We should group these two items together not only because of their direct relationship to one another, but because they illustrate the concept of viewing 10,000 ft as a target to be hit (or a deadline to be met). Hitting our target and having these items completed by 10,000 ensures that we are well prepared for our interactions with ATC by knowing what to expect. Missing our target and not having them completed by 10,000 ensures that we will be juggling radios, charts and aircraft control (most likely in that order) just as we enter the most challenging phase of flight.

A textual METAR is helpful, but be sure to listen to the broadcast too!
As we descend through 10,000, we can soon expect the center controller to give us a frequency change and hand us off to approach control. Once we contact approach, they will expect us to have listened to the ATIS be able to provide them with it's identifier ("Information Alpha, Information Bravo, etc."). Higher altitudes give us an advantage when picking up the ATIS, so it's good practice to start trying to listen for it as soon as we are established in the descent. In the flight levels, we are often able to pick up the ATIS as far out as 100 NM, giving us plenty of time to assess the weather situation at our destination.
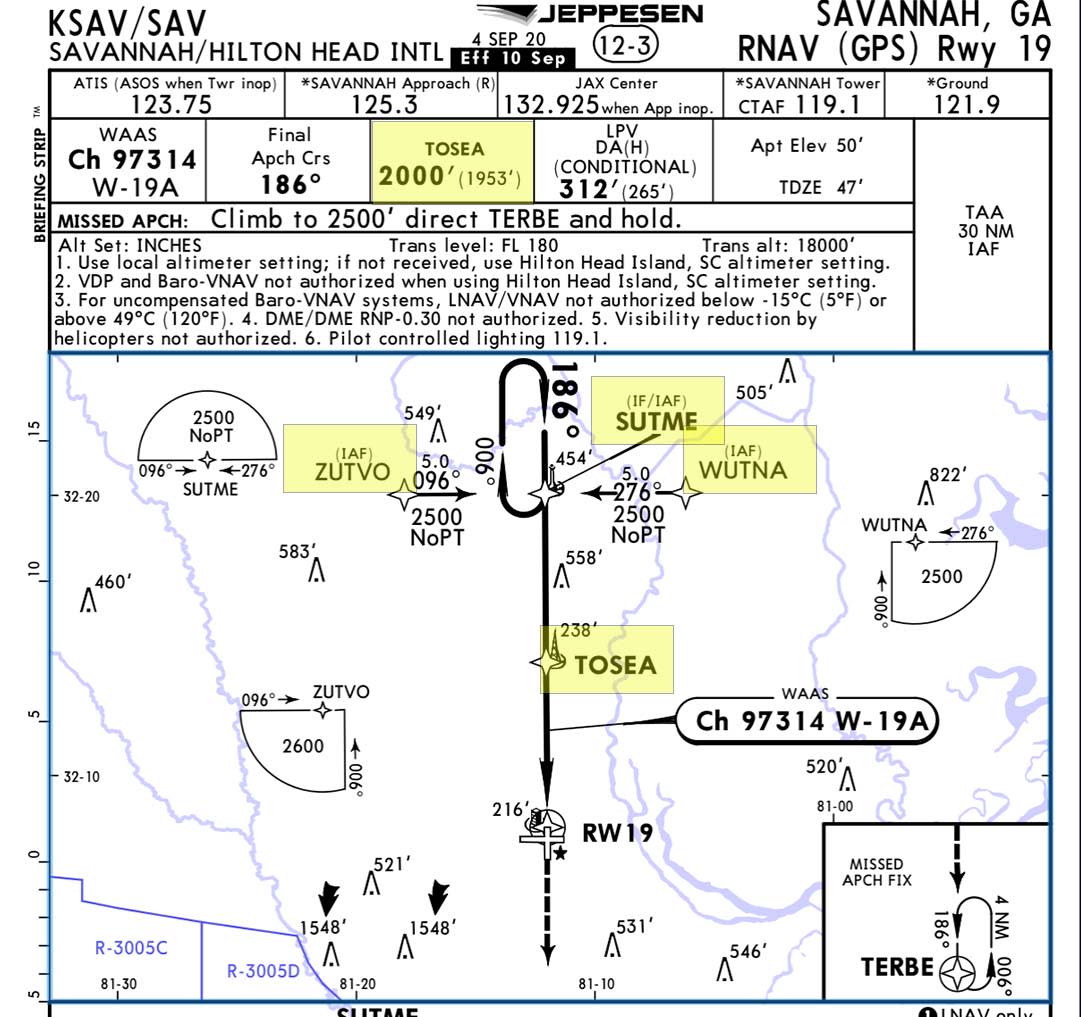
In addition to the basic weather information, we should be familiar with the approach in use at the destination and if none are announced on the ATIS, we should decide which approach is most appropriate and then request it from the approach controller.
"Savannah Approach, TBM123AB with information YANKEE. Request RNAV/GPS Runway 19, WUTNA Transition."

Review the initial, intermediate and final approach fixes before calling ATC.
Even if you intend to shoot a visual approach, it is critical that you have the 'approach in use' that was stated on the ATIS loaded into your database and that you be familiar with the waypoints associated with it. Many approach controllers at larger airports will immediately issue you a clearance direct to an approach waypoint, often sending you to the Final Approach Fix to set up your visual approach.
Having the approach loaded and briefed well before entering the approach area is one of the easiest things you can do to improve your situational awareness, helping you move confidently through both navigation and your radio communications.
Conclusion
It's in the natural evolution of every pilot to customize different aspects of their flight experience and checklists are no exception. Ideally, we should be creating our custom checklists to fulfill all the necessary requirements of the POH, while also adding reminders and prompts that are useful to the individual pilot and their preferred methods of operation.
Ultimately, it's the goal of every checklist to prepare you for the next stage of flight, and most current TBM checklists are silent between the DESCENT and BEFORE LANDING stages of flight. Adding a TEN THOUSAND (DESCENDING) checklist fills that gap, and is designed to prepare the aircraft and the pilot for a successful approach and landing.
I've made my own checklists available on my website flythetbm.com to use as a reference or to use as a template for your own custom checklist. They are free to download and edit when you sign up at my site(which is also free!).

Adam Kudzin is a TBM Instructor with over 4300 hours in the Daher TBM Series of aircraft. He produces videos, writes articles and creates training materials for the TBM Owner/Pilot community on his website, Flythetbm.com.
This article solely reflects the views of the author and is not intended to replace the information in the aircraft POH.


